Last time we discussed double-tracking problems you can avoid by doing Guitar 1 well, so this time we’ll cover the same for Guitar 2, with more modern home studio audio recording techniques and tips to help you record your guitar solos.
Aside from the difficulties mentioned under “Performance Issues” below, there are some disadvantages to double-tracking:
- Some people feel a doubled performance has less character
- It takes longer to record (which may mean more money)
- If you don’t double track something challenging, other guitarists may assume you couldn’t
- Mixing becomes more difficult if you want your rhythm parts to be heard clearly
Let’s tackle these one by one. It’s true that individual character can be overshadowed, but this will depend largely on your style. More improvisational players are more affected, but some find it easy to play something repeatedly. It’s a judgment call only you can make. In exchange for some individuality, you get a thicker, fuller sound. One or the other will be worth its weight in gold to you.
If you record in your own studio, the extra time for double-tracking won’t cost more money, but in either case, consider this: if it takes you 20 minutes to record Guitar 1, it will not take you another 20 minutes to record Guitar 2. In my experience, it takes a quarter of the time for Guitar 2 (5 minutes). This happens because your playing is already smoking by the time Guitar 1 is done. If you’re not improvising, you’ve also been playing the same line for 20 minutes.
As for guitarists assuming you couldn’t double track something, not every guitarist has this competitive attitude. Many are just good musicians who, like you (hopefully), care more about the song than their ego.
Mixing Issues
Problem: Muddled mix. If you’re a metal head, the traditional mixing approach is riffs hard-panned right and left, lead guitar straight up the middle, but the whole point of double-tracking is to have full stereo leads, usually hard panned, too. Now you’ve buried your rhythm section!
Solutions:
- Be nice to your mixing engineer and make sure he knows what you want, for his skills can keep an interesting riff audible beneath double-tracked leads, using a combination of compression, tone tweaking, riding the faders, and careful use of that big reverb/delay you have on that solo
- A well-chosen lead tone will help it stand out without burying your riffs
- Write a simple rhythm section so there’s nothing to miss. If you’re the only guitarist, your bassist must hold down the riffs alone live anyway, so you may as well go for simple chords under your solo. For songs with vocals and a lone guitarist, this is the traditional approach
- Double-track leads over simple chords, but single-track leads when the riffs are interesting
Problem: Mix balance during harmonies and dual-lead lines. If Guitars 1and 2 play in unison and then break into harmony, or into two completely different lines (Guitar 1 is a slow melody while Guitar 2 is a fast scale), both guitars may sound quieter overall.
Solutions: Both issues can be solved by double-tracking the original lead all the way (Guitars 1 and 2), then make the harmony/dual part into Guitar 3 (and maybe Guitar 4, if you double-track this, too). Be aware that you’re more likely to bury the riffs this way. A lesser solution is to raise the volume where needed, though this doesn’t always work.
Performance Issues
In the previous column, I mentioned using two different articulations for Guitars 1 and 2, in which case the performance will not be exact by definition. If you use the pick throughout Guitar 1 but use slurs within Guitar 2, for example, you may have to experiment with exactly what is different (and when) to make this sound good with full stereo separation. Sometimes there’s no choice but to put both guitars in the middle of the mix instead.
Problem: Timing. This is the most obvious issue with double tracking and is why most people don’t do it.
Solutions: Practice. Guitarists practice all sorts of things with a metronome, but you need to practice double tracking itself. There’s nothing like playing along with yourself to discover how inaccurate your timing is. You need to learn your own habits to fix them.
- Find a rhythm guitar part (or entire song) with a fair amount of activity. What you need is something with both steady motion and briefly held chords, preferably in alternation. The reason is that you may speed up or slow down when switching. If the rhythm part is constant 16th notes, that won’t help much. Neither will long held chords. Without using a drum machine or click track, record yourself playing the rhythm(s) for several minutes. Then put on the headphones and double track it. Pay attention to every place where you rushed (or are rushing now). If you realize the original performance was bad, redo Guitar 1, then try doing Guitar 2 again. Keep doing it until you succeed or get better
- Do it with many songs, harder songs, with lead guitar, and finally with a drum beat
- Do it for weeks, months, and years. When you eventually lay down a smoking, complicated guitar part and then double it exactly before everyone’s stunned ears, no one needs to know how much you practiced
Problem: Headphones are cramping your style. Whether ear fatigue, the cord getting in the way of your windmills, or just a fashion emergency, headphones can drive people crazy when recording, so how do you double-track without them?
Solutions:
- Don’t use them during Guitar 1, just during Guitar 2
- Don’t use headphones during recording, only during playback to verify the guitars match. This can be tricky while playing (too many sounds might be bouncing around in the room, making it hard to focus)
- After recording Guitar 1, turn off Guitar 1 altogether while performing Guitar 2 “blind” and without headphones. Verify they match during playback, using headphones. This is tricky but impresses witnesses. If you’re getting frustrated and/or feel your spontaneity is going away, this can also make you feel free again
Problem: Guitar 2 out of tune. Sometimes the guitar just goes out and you can’t get it back in tune with Guitar 1. Now what?
Solutions:
- Recording Guitar 2 ASAP after Guitar 1 helps avoid this, but not always
- If the performance has extreme bends at the end, record right up to that note, stop short of it, do the double tracking, then add the bend to both tracks via punch-in afterwards
- Sometimes only a few pitches are off, so just record Guitar 2, then re-tune the offending notes and re-perform them via punch-in
- If the notes on only one string are off, play those notes on a string that’s in tune. This may change the tone, however
- If the notes are flat, you can try slightly bending them up when playing, but this may not work either because the note goes by too quickly or because you’re doing vibrato or something else while sitting on that note
- The culprit might be the riffs, which can sound perfect until you play lead over them and a slightly bent string in the riff causes this
- If all of Guitar 2 is out, you can save Guitar 1 and do another Guitar 1 and then Guitar 2. Otherwise, erase Guitar 1 and start over
- Finally, you can always try for Guitar 2 on another day, but you may play differently then. In 20 years, I don’t think I’ve ever once doubled something more than one hour after I did Guitar 1
Problem: Final note doesn’t end at the same time. Sometimes you let go off the last note at different times for each guitar, or one has better sustain. We’re not talking huge differences here, but even small ones can sound bad, especially if there’s a rest in the whole band right then or your digital delay repeats the two slightly-off endings over and over!
Solutions:
- Re-perform it. This is not good if the performance was otherwise great. Besides, you may miss again
- Punch-in just to fix that. A good bet, though you can still miss
- Fix it in the mix. Use the automation features of your recording system, ala ProTools, to mute the note that goes longer so it ends when you want it to. If your signal routing is set-up right, when you mute the offending guitar, its last note will still go into the delay unit to avoid an unnatural cut-off there. And yes, this is cheating, but so is punching in. To be accurate, mute both leads at once by grouping them. Your mixing engineer may have other solutions, such as fading out the notes before they end
To Double-Track Or Not To Double-Track

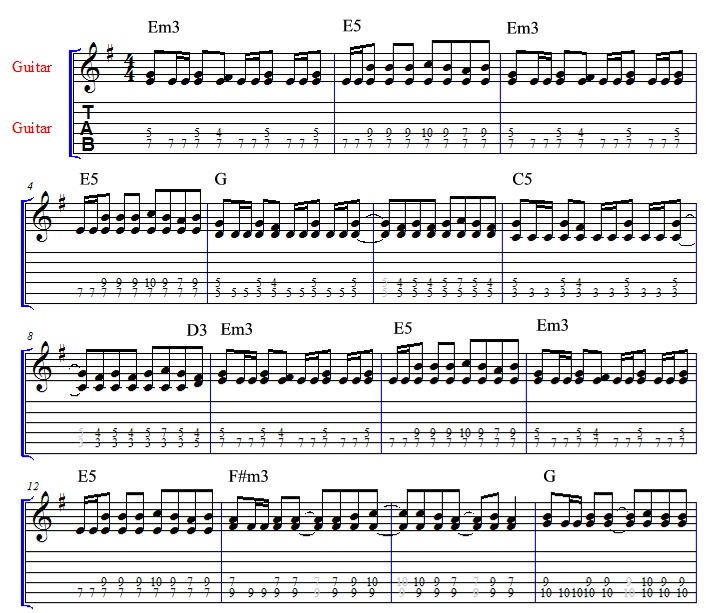
My video for “Crunch Time” from NOW WEAPONIZED!
If you decide to double-track certain lead phrases and not others, it is good to know this in advance. After all, let’s say you decided to double something, did so, and change your mind later? Simple. You just turn off one guitar. But what if you didn’t double it and now wished you had? Can you get the gear set up (if it’s gone) and re-perform it days or weeks later? My solution is simply to double everything and make my decisions during mixing, but I own my studio and am a glutton for punishment.
So is double-tracking worth it? Here’s a final thought. It often sounds good to double your themes, which tend to be simple and easier, and not double your more solo-like passages. You keep spontaneity where you need it and get fuller sounding themes. It’s the best of both worlds.
Best of luck, and may your fingers fly true…both times.
Follow Me
Official Site: http://www.randyellefson.com
Twitter: http://twitter.com/randyellefson
Facebook (as guitarist): https://www.facebook.com/pages/Randy-Ellefson-Guitarist
FaceBook (as author): www.facebook.com/RandyEllefsonAuthor
YouTube: www.youtube.com/RandyEllefson